Alas, technical difficulties and life got in the way. The technical difficulty was that I took the wheel off to take it to be trued, and somehow lost one of the axle nuts in the process. No big deal except this hub seems to have really weird and atypical threading. Harris ordered me a new one, but then that one didn't quite work either.
Backing up a step (or three): I had the front wheel built, and the drum brake temporarily installed with a cable between the old rod brake stirrup and the drum brake arm.

This was OK, except it was really hard to adjust- you had to tension the cable just to the point of activating the brake, and then screw it down, and you really needed three hands to do it right. I was contemplating a turnbuckle, when a reader offered me a N.O.S. Rod- drum conversion kit that he had ordered for a project that ultimately he didn't complete. I didn't realize at the time how rare these are, so I feel very fortunate to have "happened" on one.
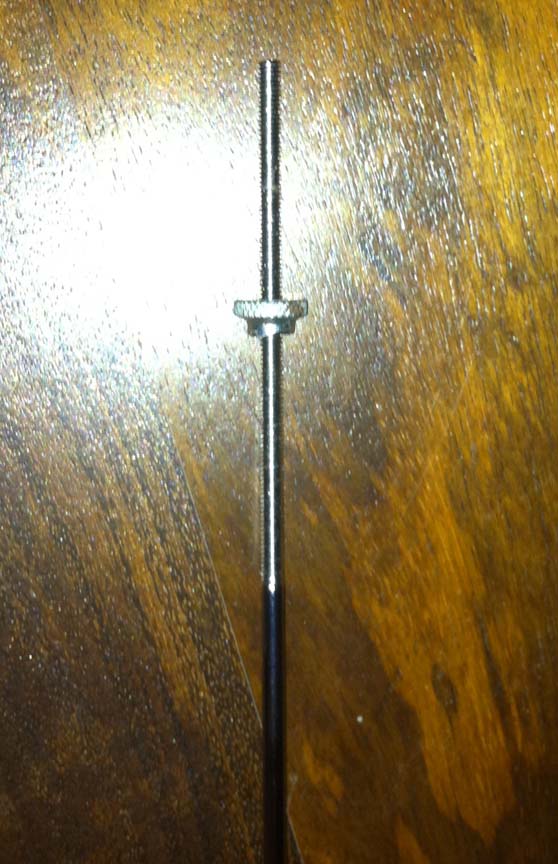
It looks basically like this:

The only problem was that the angle of the fork made it such that when the reaction arm was clamped to the fork (using the part that was designed for that), the angle of the activation arm caused the rod to hit the axle.

Rotating the reaction arm clockwise allowed the rod to travel in a straight line without hitting the axle, but make attachment to the fork troublesome.

And in any case the fork blade was so close to the axle body, that it seemed that the rod was binding and not moving smoothly. I added some washers between the axle and the fork, which solved that problem, but the replacement nut wouldn't tighten down enough to hold the wheel in place.

Finally, I bit the bullet and drilled a hole though the reaction arm of the hub such that I could attach it to the fork at an angle that would allow the rod to just miss the axle. This allowed me to use the piece that came with the hub for this purpose, although not exactly as it was designed. The arm was supposed to fit in a little notch on the clamp, but instead I used it as a glorified P clamp.
All this was enough to get the brake working, and well enough (and easily adjusted enough) that after a quick spin around the block, I felt up to riding 14 miles (RT) to Harris Cyclery and back to pick up some brake pads. I could have probably found them closer, but wanted to also stop by Russo's market. The trip was uneventful (although I packed a lot of tools just in case), but super sticky.


I stopped briefly on a bridge over the Charles to enjoy the view. It was so humid that you could see the air! After a long hot day of errands and bike messing, I was glad to take a cool shower and relax in the AC.
I still haven't resolved the axle issues. The good news is that I found the original axle nut a couple of weeks ago between the seats of the Scientist's car, the bad news is that I don't remember where I put it when I found it. The wheel is being held in mostly by gravity, which is not a good long term plan. My hope is that I can find the correct nut, screw everything down properly and have a roadster bike with its lovely slack geometry but with all weather reliability and lighting. It's been a long slow road, but I think the end is in sight!
I love your bike projects, my newish bike Wilson has drum brake. Kind of weird at first but good.
ReplyDeleteNote to self: resist the temptation in future to read any post that includes both "fixing" and "brakes" in the post title! At least when I have deferred brake work that needs to get done.
ReplyDeleteOther than that, this was an unusually good and interesting post. Even better than the "plumbing" series. I do hope there is no future post on the downside of gravity and wheels (no pun intended).
Oh dear! These are problems that are going to become near and dear to my heart, and I have also procured the very same drum brake conversion kit, both front and rear, and I have built the wheels. Installation was to be next after I prepared the frame, which has been delayed. Sigh. I will see how it goes, but I now move forward with much trepidation.
ReplyDeleteAmanda, don't despair!
ReplyDeleteI think that the cable solution worked pretty well, it was just hard to adjust. It avoided the issue of space between axel and fork. I think that different years of dl1 have slightly different angles and might not cause the same problems.
Two suggestions- guard the axle nuts carefully as they are a bugger to replace, and consider installing the cable with a turnbuckle that will allow easy adjustment of the cable length.
A suggestion that may or not be helpful is that you can use pieces from the old linkage, or parts from the more readily available replacement rod sets to create a new configuration, but that involves more fabrication
Cycler, I may have come up with a solution, but as I am playing with it on a wheel that is not attached to a bicycle, it may be crazy or unsafe-- you may better be able to tell than I. I removed the nut over the reaction arm, and then I rotated its position by 90 degrees up and then I also flipped it over. So now I can grab the arm with the rod over the top of the axle while the other arm is in the approximate correct position. The reaction arm seems to activate the brake when it is pulled either up or down, best I can tell.
ReplyDeleteOh, and I almost lost my axle nuts, too. But fortunately I found them and put them in a safe and memorable place.
My last post, I was misusing the word reaction arm, I meant the brake arm-- the one affixed to the hub with a nut.
ReplyDeleteAnyhow, I did some more tinkering, and decided that it will work best flipping it in the way I described before, but then pulling it with the long rod from the opposite side of the bicycle (drive side-- same side as the Gazelle Toer Populair pulls from). As far as I can tell the hub will work in either orientation. Now the rod easily clears the axle of the hub from below and the reaction arm can be affixed the fork as normal.
Also, because the sides are now reversed, the parts of the modified stirrup that attach to the fork are also flipped over-- aesthetically the only difference is that the end of the screws now protrude out from fork attachment and the open, formerly outer side is now facing inside the fork.
Amanda,
ReplyDeleteI played with the idea of reversing the lever arm, but it didn't really work with the angles of my bike's fork.
Do you have the dynamo-brake hub? Will the dynamo work if it's running in reverse? That's the only thing that I would worry about with the scenario you described.
Cycler,
ReplyDeleteI have the same dynamo drum hub that you have and pretty much the identical DL-1 (I think 1972). Anecdotally, google tells me that the dynamo part runs/works in either direction (http://motorbicycling.com/f50/sturmey-archer-x-fdd-dynohub-drumbrake-26672.html). My rudimentary physics tells me that it should not matter which direction the wheel is spinning the magnets, so I am certainly willing to try it, but I am not going to have it all together and wired for a least a couple of more weeks.
-Amanda
Alas, I found the axle nut that I had previously "found" but it's not the original- it was one of the rejects.
ReplyDeleteHowever, I did some snooping on Bike forums, and found a source for all kinds of obscure SA parts-smartbikeparts.com- and ordered a couple of extra nuts (just in case). I opened up the SA site, found the specific part number I needed on the exploded diagram, so it should be the right thing- keeping my fingers crossed
I have just happened across this blog, and and all questions have been answered for my Pashley rod to drum brake conversion.
ReplyDeleteDo you know who made the single sided stirrup conversion kit so I can start my search?