
Firstly, I got together all the tools I thought I'd need: metric allan wrenches, ratcheting box wrenches, screwdrivers, giant crescent wrench, utility knife, grease and locktite.


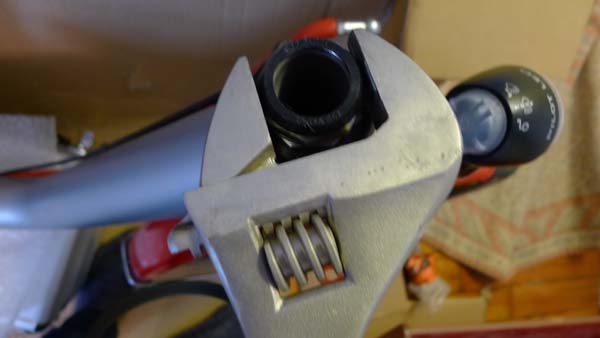
The top nut had an integrated rubber flange to keep water and dirt out of the headset bearings. This extra-giant crescent wrench was purchased for a plumbing project, but mostly gets used on bike headsets.
The whole assembly is capped with a nicely-machined stainless steel cap, held on with a set-screw. This isn't normally an issue with most bikes, since the fork is directly below the handlebars.

Next I attached the linkage from the handlebar assembly to the tab on the fork

This is the part I'm not 100% sure I did right. I put one washer above and one below the plate, not sure if I should have put both below the plate. The nut is a "Nylock" lock nut, and I'm not 100% sure I tightened it enough. It's hard to tighten, because the threaded part can rotate in the ball joint. I held the neck of the ball-joint with needle-nose pliers and tighened the nut "fairly tight" but in retrospect I think I should tighten them up until the nut is more snug against the metal plates on both ends. If anyone out there has assembled one of these, any advice would be welcome.
At this point I hit a snag. The bakfiets has front and rear roller brakes. They look like disk brakes because of the big disks which are cooling fins for the brake drum. This type of brakes are very weather-proof- unlike any sort of rim mounted brake they are unaffected by wet conditions. This is the kind of brakes I have on Gilbert's rear wheel, and I've disassembled and re-assembled them many times. Generally there's a banjo bolt (bolt with a hole through it) which is clamped down on the brake cable, and which is bolted through the action arm on the brake. When you unbolt the cable from the arm, it's easy "lose" the setting on the cable, and you have to fuss with it when you re-assemble it to keep the tension correct. Shimano solved this problem by creating a "quick release" plate that you bolt the cable to, and which then fits into the action arm.
 |
| I need item "8" on this axonometric. |
And guess what- the plate is missing! I went through all the packaging three times, but there was a big hole at the back of the box, and if it came un-attached from the bolt, a small part like that could easily have fallen though the hole. For purposes of just getting the bike on the road, I went ahead and secured the cable out of the way.
I called on Monday, and unfortunately Shimano USA says that this little piece is "obsolete." So I'll need to get one from Workcycles, or will have to improvise another solution.

At this point the "bike" part was all assembled (sans front brake) and ready to go. The small brown dog did an inspection of my work, and then it was time to take it outside to attach the box.

The box fittings use Torx "security" screws. Fortunately I have one of those "50 bit" sets that you get at Home Depot for $19.95, which has 3 sizes of torx bits. I'm so excited to finally get to use one of them!

From this point the assembly was just a matter of a few minutes with a power screwdriver;


I put the cover on, just to make sure it all fit OK

I love the red, silver and black color scheme!
And then it was time to wheel it (carefully) out the front gate:

and go for the inaugural ride!


I immediately took it on an enormous grocery run- but this post has already been too long, so I'll detail the first couple of rides and my observations about it for another post. But I can summarize my initial impressions with one word- Yowza!
What a handsome and perfectly functional vehicle! Little brown dog looks like he'd like a ride!
ReplyDeleteOoh the non-kid cover is quite nice. Congratulations on putting the bakfiets together, the long model looks huge!!!
ReplyDeleteThat has to be one of the coolest things on two wheels. I just wish there was a Workcycles dealer closer than a 500 mile drive to Chicago. Can't wait to hear a full review!
ReplyDeleteSaw it parked on Broad Street yesterday. Tell us how it rides for a commute and otherwise. You'll be the envy of CSA pick-uppers this summer. (I told my bride as we signed up this week that we could only do veggies - no eggs or fruit as I'd never fit them on my bike, but you can do it all!) I didn't know they come with covers.
ReplyDelete